RV Living Tips – The Do’s And Don’ts Of RV Life

This article is about my RV living tips on the do’s and don’ts of RV life, travel and camping.

And I have written a lot articles and made a lot of videos about RVing so far.

But the information in this article will be about some of the best RV living tips that I can give you.

For things to do and things not to do if you own an RV. So let’s go ahead and get started first of all on the “do” list.

RV Living Tips – The #1 Thing To Do

And the first piece of advice I can give you is that you should have a system for purifying water in your RV.

Because we have traveled all over this country in our RV. And we have found that water quality varies considerably from one area to another.

In fact, it can even be very different from one campground to another at times.

So you really want to be sure that especially your drinking water is safe for use.

In fact, I made a video about that in the past. And the video is not about some expensive and complicated water purification system.

Because I feel that you can go a little crazy in this area if you aren’t careful.

But actually, the video is about a very simple and inexpensive system that we use even now. And we’re very happy with it.

So you can watch the video and see if it’s something that will work for you as well. Just click here or on the image below to watch that video.

Watch my video on water filtration
Watch my video about RV water filtration

#2 On The List Of Things To Do

OK, next up on the list is to keep all safety equipment in your RV current and up-to-date. And try to make sure it works properly as well.

Now what do I mean when I’m talking about life safety equipment?

Well, I’m talking about fire extinguishers, LP detectors, CO detectors, and smoke detectors.

RV living tips - RV life safety equipment
RV life safety equipment

These are components in your RV that can save your life. So they really are important!

However, I can tell you that as an inspector, we often observe that these items are just ignored. And very often, for a very long time!

In other words, they’re out of sight and out of mind in many cases. Now of course, RV owners may intend to keep them current.

But before you know it, many years have gone by and nothing has been done. So don’t be that kind of RVer!

Make sure all of these life safety devices are well within the range of use recommended by the manufacturer.

What About Fire Exit Safety?

Now, while we’re on the subject here, also make sure you know where your fire exits are in your RV.

They’re usually a window of some type, and they’ll be marked as an emergency exit. So be familiar with where those exits are.

This RV window has a red handle to identify it as an emergency exit

But more than that, don’t just know where the exit is, also make sure that it works properly.

Once again, as an inspector, it’s amazing how often I get to that window and try to open it.

But it’s clear that it hasn’t been opened in a long time. In fact, in many cases it’s even stuck to the rubber seal of the window.

So don’t let that happen in your RV! Instead, know where the exits are, and know that they would work well in an emergency.

The #3 Thing To Do On My RV Living Tips List

Next up on our list of RV living tips and things to “do”, is to know the age of your tires. And be sure to replace them when needed!

The truth about RV tires is that they usually age out long before they wear out.

And many RV tire manufacturers recommend that you don’t let your tires go beyond 5 – 6 years of age.

Of course, you can go longer than that if you choose. But you’re taking a big risk if you do.

Because an RV’s tires are the connection that you have with the road as you travel.

And if something goes wrong with an RV tire, very bad things can happen quickly. Resulting in a bad accident, serious injury, or even death!

So know the age of of your tires at all times and replace them when you should.

Now how do you know the age of your tires? Once again, I made a video about that.

To watch it, just click here or on the image below.

Watch my video on how you can know the age of your tires
Watch my video about how to know the age of your tires

So you can watch the video first and then go and find out the age of your tires right away.

That way you can make your decision about replacing your RV’s tires based on what you find.

The #4 Thing To Do On My List

Our next point on the “do” list is to buy your RV from one of the better RV brands. One that is known for better overall build quality.

Now there’s plenty of people out there that say “All RVs are just garbage”. But that’s just not true!

There are RV brands that are better made than others. They are not all built poorly as some claim.

And the truth is that you can get a problematic RV from almost any RV brand out there.

Because all RVs are still basically built by hand. And that means that consistency can be a challenge in the RV building process.

So why not put the odds on your side to get a better overall product by buying a brand that’s known for more consistently higher quality?

It really does make a difference if you choose wisely before you buy the RV!

To find out which brands I recommend, just click here or on the image below.

Download my "better brands" RV guidebooks

#5 On The “Do” List Is Very Important

Next on the list of things you should do is to check RV seals and joints often.

And you’ll find RV joints where the front cap and back cap meets the RV walls. But there’s more than that to check.

There’s also joints and seals up on the RV roof that need to be examined too.

So what are you looking for? Well, you don’t want to see holes in the sealant on those joints.

You also want to check for areas where the sealant is cracking. Or where it’s been rubbed away.

RV living tips - check for holes and gaps in your RV sealant

And if you find that any of that is happening, then replace that sealant right way!

Because the last thing you want is to have water leaking into your RV.

If it does, it can do major damage very quickly. And it can be very expensive to fix. So check your RV seals, joints and sealant often!

Another Important Thing To “Do” On My List

OK, next up on the “do” list is to have an electric management system for your RV.

One that will protect your entire RV’s electrical system from dangerous electrical situations.

Remember how I mentioned earlier that from one campground to another you can find differences in water pressure?

Well, the same is true of the quality of the electrical connections that you can encounter.

In one campground it’ll be great! But in another campground it can be downright dangerous.

So don’t just settle for a generic RV surge protector. You will need an RV electrical management system.

In fact, I made a video about this that can be very helpful for you to view.

It will compare the differences between electrical management systems and surge protectors.

And it will help you determine what’s best for your situation. To watch that video, just click here or on the image below.

Watch my video about RV surge protectors and electrical management systems

#7 On My List Of RV Living Tips

My next recommendation on the “do” list is to have a tire pressure monitoring system.

One with enough sensors to cover every tire on your RV’s rig, not just the RV itself.

Because if you have a towable RV, then it’s probably being towed by a tow vehicle.

And if you have a motorhome, then you might be carrying along a towed vehicle too.

So have sensor for every tire in the rig. And then monitor them all closely as you drive.

There’s lots of advantages to monitoring your tires closely as you go down the highway.

RV living tips - Have a tire pressure monitoring system for your rig
Have a tire pressure monitoring system for your rig

For instance, if there are problems that develop with a tire, then you can know about it quickly.

Or at least you will begin to see hints that your tires may need attention soon.

And then you may be able to save yourself from a tire blowout before it actually happens.

In fact, this has happened to us while we were on the highway traveling.

And we were able to avoid a major problem with our tires that could have been very dangerous.

All by having a tire pressure monitoring system and watching it carefully as we were driving.

RV Living Tips – #8 On The List

Next on the “do” list is to make sure that you know your rig’s weight. And unfortunately, a lot of RVers don’t know that.

They’re just going down the highway without any idea of how safe their rig’s weight really is.

And as they travel and camp, they buy this thing and that thing along the way. And bring all of that stuff into the RV over time.

They often figure that as long as they’ve got space left in the RV, then they’re fine. But that’s not true!

So be sure you know what the safe weight limit is for your RV. And know what the weight limit is for the cargo that you can bring into it.

Then don’t go above those weight limits. That way you won’t overload the RV, and you can stay safe while you travel.

I made a video about this too. And you can view it by clicking here or on the image below.

Watch my video about the weight of RV
Watch my video about the weight of RVs

#9 – One Of The Best Of My RV Living Tips

Next on the RV “do” list is to get an RV inspection on any RV that you buy. Whether it’s a new or used one.

Unfortunately, there’s still a lot of RV buyers that don’t follow this advice.

But think about it! Almost every town or city has an inspection department for new homes.

And their function is to go out and make sure that any building that’s constructed is built according to code, and is safe.

So why would you want to buy a home on wheels and not have it inspected properly?

In fact, I recommend using certified NRVIA inspectors for this purpose. Because they know what they’re looking for during the inspection.

RV living tips - Always use a certified NRVIA RV inspector before buying an RV
Always use a certified NRVIA RV inspector before buying an RV

They can easily determine what shape any RV is really in by inspecting it thoroughly.

Now, online you often hear a lot of complaints about people buying RVs that aren’t really ready for use.

However, the vast majority, if not almost all of them, have not done their due diligence before buying the RV.

And most of them did not get an RV inspection as they should. So don’t be one of those people!

OK, that’s the list of “do’s”. Now let’s move on to the list of RVing “don’ts”.

#1 On My List Of Things Not To Do

And number one on that list is don’t rely on Google Maps to direct you in an RV. And that’s especially important if you have a bigger rig!

Because Google Maps is just going to try to get you to take the quickest route possible.

And I can tell you for sure, it’ll take you down some roads that you really don’t want to be on with an RV.

Roads that can get you in trouble quickly with a bigger rig. So my recommendation is to make sure you use an RV GPS app instead.

Or plan your trips with something like RV Trip Wizard. In fact, we’ve been using it for years for planning RV trips and we’re very happy with it.

Once again, I made a video about how RV Trip Wizard can be used that way. So just click here or on the image below to view that video.

Watch my video on how to use RV Trip Wizard for planning RV trips

RV Living Tips – The #2 Thing You Shouldn’t Do

OK, number two on the “don’t” list is don’t leave your black tank valve open at RV parks.

I see this a lot with people in campgrounds that are going to be there a while. Or maybe they even just live in the park.

Well, don’t leave that black tank valve open on a constant basis and think it’s fine to do that.

Because the liquids are going to drain right out like they should. But very often, the solids don’t.

Instead, they build up inside the tank and harden there. Once that happens, you have a real problem on your hands at that point.

And it’s often called “the black tank bomb”. It’s a solid, hardened, collection of waste that clogs up the whole RV sewer system.

RV living tips - avoid the black tank bomb!
RV living tips – avoid the black tank bomb!

And you really don’t want that! Because it’s going to be expensive to repair in many cases.

Instead, what you want to do is just leave the black tank valve closed until the tank is full.

Then open it and let the pressure in the tank push everything out of it all at once. Both the liquids and the solids.

I know that it takes more effort to do this regularly. But it will save a lot of unnecessary expense and frustration if you do.

#3 On The RV Living Tips “Don’t” List

Next up on the “don’t” list is don’t hook up to a city water connection without a water pressure regulator.

Always use a water pressure regulator in RV parks and campgrounds

Remember that I said there are variances in the quality of water across the US, and from campground to campground?

Well, there are also variances in water pressure too. And sometimes there’s more pressure than there should be in the water lines.

When that happens, the excess pressure can cause a real problem with the plumbing in your RV.

And if it does, it’s most likely not going to be an easy problem to fix in many cases.

So protect your plumbing by using a very simple and inexpensive water pressure regulator. And then you don’t have to worry about those issues.

RV “Don’t” #4 On My List

OK, next up on the “don’t” list is don’t drive too fast on the highway when you’re traveling with your RV.

I have to say that we have people go right by us like we’re standing still in our rig.

And I know for sure that the tires on those RVs are not rated for that kind of speed.

Just remember that there is not a fire to go to when you’re traveling. So don’t get too anxious about getting to your destination.

Instead, make sure you’re maintaining a safe speed for your RV. And for us, that speed is somewhere between 60 and 65 miles hour.

That speed seems to keep us in control of what we’re doing at all times.

But also maintain a safe distance too between you and the vehicle in front of you too.

Because things can happen unexpectedly on the road. And you want to be able to bring that big RV down to a stop fairly quickly when they do.

So maintain a good safe distance between you and the vehicle ahead of you.

Tip #5 That You Shouldn’t Do

Next up on the “don’t” list is don’t leave your RV awning out when you’re away from your RV.

Always retract your RV awning when away from your RV

Because there are areas in this country where storms just come up quickly without warning. In fact, almost in the blink of an eye!

And the storm can get bad very fast, with high winds. Then it can grab your RV’s awning and destroy it before you know it.

In fact, we’ve seen it happen on several occasions in our RV travels. So don’t leave your awning out when you’re away from the RV.

It can be an extremely expensive mistake to make that is easily avoided.

RV Living Tips – #5 On The List

Next on the “don’t” list is don’t use an RV service tech or repair facility without checking out their online reviews.

Of course, there’s lots of repair techs and service facilities for RV repairs and maintenance. But they are not all the same, not by a long shot!

So be sure you know a little bit about them before you take your rig to them.

And having word of mouth testimonials is a good thing. But it’s also good to check online reviews as well. So be sure you do that.

#6 Of Things You Shouldn’t Do To Your RV

OK, next on the “don’t” list is don’t procrastinate about caring for your RV’s exterior. And a lot of RVers do this!

Of course, they often intend to go out and wash and wax their RV on a regular basis.

But they know it’s a big job. So instead, they just sort of put it off for a while

And weeks turn into months, and then months turn into years. Next thing you know, the outside of their RV looks terrible.

So don’t procrastinate caring for your RV’s exterior. Instead, wash and wax it often!

Now I made a video about this too. It’s about a system that I use to be able to wash and wax my RVs all at the same time.

And it doesn’t take me very long to do it. Also, it’s not a lot of effort to do it either.

So if you want to see the video I made on that subject, just click here or on the image below.

RV living tips - Watch my video on how to effortlessly wash and wax your RV
Watch my video on how to effortlessly wash and wax your RV

Oh and one more thing. Don’t forget about caring for the rubber and plastic parts on the outside of the RV either.

You can easily protect them by using a great UV inhibitor like 303 Aerospace Protectant.

Tip #7 Of Things You Shouldn’t Do

Next up on the “don’t” list is don’t procrastinate when a mouse gets into your RV. Now this is a very important piece of advice!

Because a mouse can do a tremendous amount of damage to your RV in a very short time.

They often chew through wires behind walls and in the ceiling where it’s hard to reach.

And you’re not going to appreciate getting a bill for many thousands of dollars for those repairs.

So make sure that when you know a mouse has gotten in, get on resolving that situation right away.

And again, I made a video about this subject. In it I cover various means of tackling the situation and handling it effectively.

So if you want to see that video, just click here or on the image below.

Watch my video about preventing mice from ruining your RV

Tip #8 Of RV Don’ts

Next up on my “don’t” list is don’t leave your campsite without one last walk around of the rig.

You know, it’s amazing how you can easily forget some very important things to do.

Because maybe you’re not feeling good that day. Or maybe you’ve got your mind on something else.

Or maybe while you’re packing up, the next door neighbor comes over and starts talking with you and gets you out of your rhythm.

And then, you just forget something you shouldn’t forget. Then you drive off and find out about it later, when it’s a problem.

So before you leave your campsite, don’t get out of there without making one last walk around.

Make sure that you look at everything as you go very carefully and deliberately.

Also, using a checklist for setting up your campsite and for taking it down is a very good habit to have too.

Conclusion

All right, these are the various “do’s and don’ts” that I wanted to cover in this article.

And I hope that you found something in there that’ll be very helpful for you in your RV life. Ways to make your RVing more safe and enjoyable!

Have safe and happy RV travels!
RV Slide Out Repairs – How To Avoid Expensive Problems

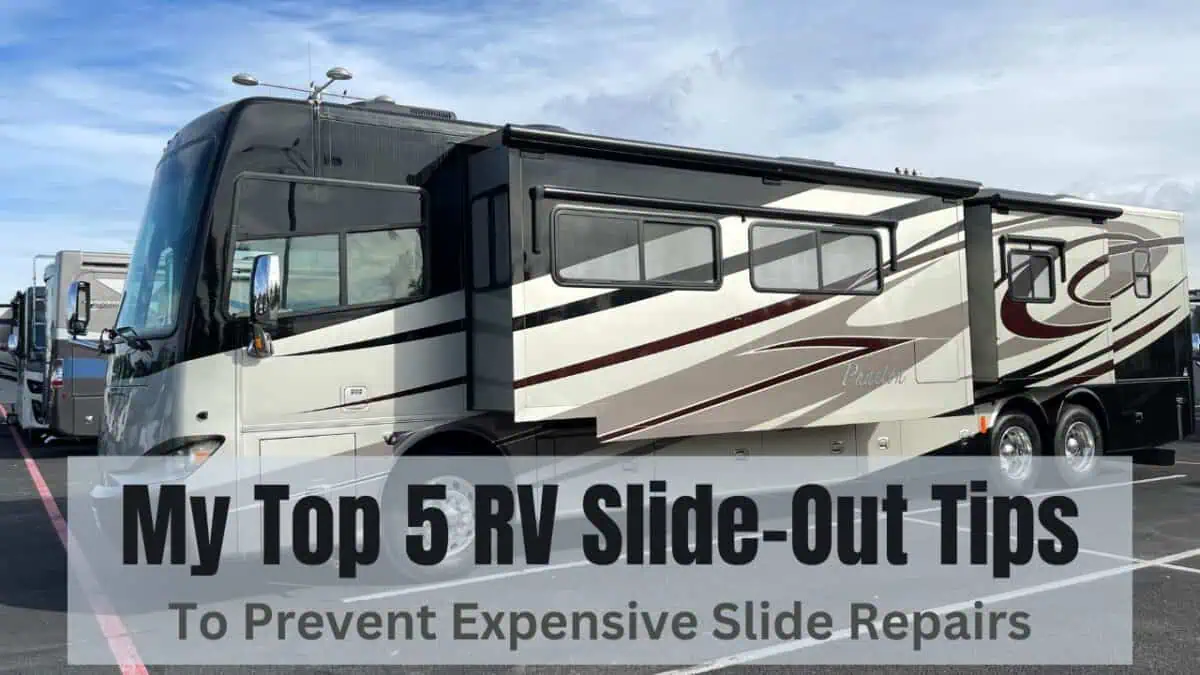
In this article I’m going to be talking about RV slide out repairs. And the top five tips for maintaining and protecting your RV slide outs.

So that way you can avoid a lot of the slide repairs that can be very costly to fix.

Of course, one thing’s for sure. And that is that RV slides provide a lot more living space inside an RV.

RV slide rooms can increase living space dramatically

In fact, RV manufacturers can extend up to 50% of an RV’s living space by using enough slides.

RV Slide Outs Can Have Problems

But slide out rooms can have their problems too. And that’s especially true if they’re not maintained or operated correctly.

And that eventually often leads to RV slide out repairs becoming necessary.

In fact, there are many RVers these days that absolutely avoid slide rooms altogether.

Because of the potential problems that they have heard about or seen themselves.

But by following the tips in this article, you can avoid a lot of those issues and problems. Ones that can become very expensive to repair.

But what if you would rather avoid slide rooms altogether? My comparison of the best no slide travel trailers covers three brands worth considering, along with the space and towing tradeoffs to think about before buying.

Not All Slide Outs Are The Same

First of all though, let me say this. Not all RV slide rooms operate the same way.

Yes, they all go out and then come back into the RV. But the mechanism that causes them to do that can be very different from one RV to another.

And there are four main kinds of slide out systems in use today in most RVs you’ll see.

RV Slide System #1

The first one we’ll talk about is the electric rack and pinion type of system.

Now rack and pinion just means that you have a circular gear that moves on top of a lateral gear. And moves the slide room in and out.

A typical rack and pinion RV slide gear

It’s the most common type of mechanism used because it’s very reliable. Also because there’s very few moving parts too.

So RV manufacturers love using that system and installing it at the factory.

Unfortunately, it can also be one of the more expensive systems to install correctly.

RV Slide Out System #2

The second slide system we’re going to talk about has a little bit of a bad reputation though.

It’s the Schwintek slide room system. And Schwintek uses worm gears at each end of the slide to move the slide in and out.

This is what a Schwintek RV slide system looks like on the outside of the slide room

It’s actually a fairly reliable system overall. But some RV manufacturers these days have been using them in ways it was not designed to be used.

For instance, they may use it on very long and heavy slides often referred to as “super slides”.

But Schwintek is not designed for that. It’s best used for smaller slides like you find in an RV bedroom.

And as long as it is used in the way it was designed, it usually works just fine.

RV Slide Mechanism #3

Now the third type of system we’ll talk about is hydraulic. It uses a motor and a pump and somewhere there is a reservoir for the hydraulic fluid.

A hydraulic slide system using an arm to drive the slide room in and out

Now if you know anything about hydraulics you know that you can use it to move really heavy things around.

So a hydraulic slide mechanism works very well for those bigger and longer super slides I mentioned earlier.

And the other thing that you’ll notice is that as you operate a hydraulic slide it moves in and out usually a lot faster too.

Especially when compared to the electric rack and pinion type of slide system. In fact, it can move so fast that it’s almost scary to some people.

RV Slide Out System #4

Now the last system we’ll talk about today is a cable slide room system. It’s a little more expensive and therefore it’s not used quite as often.

But it uses cables that bring the slide out and then cables that pull it back in.

A typical cable slide out mechanism on the outside of the slide

Usually you only see a couple of cables outside but there are more that are inside the mechanism.

And once again, this kind of system is best used on smaller slides.

Although it is more robust than the Schwintek system mentioned above.

OK, those are the four most commonly used types of slide systems in RVs these days.

But remember that maintenance is going to be required on all of these systems to some degree.

So here are my five top tips for maintaining RV slide rooms to get the best service from them.

RV Slide Out Repairs – Maintenance Tip #1

And the number one tip is make sure that you lubricate any moving metal parts that are touching one another.

You’ll want to do that to keep them moving smoothly and cut down on friction.

However, it’s important to use the right lubrication too. So don’t use anything other than a dry lubrication like you see here.

To help prevent RV slide out repairs use a dry lube like this on moving metal parts

Because if you use something else, very often dirt or debris will be attracted to that lubricant.

And that can even gum up the system instead and make it worse.

So lubricate moving metal parts and use a dry lube for that task.

Slide Out Tip #2

Now the second tip is to also lubricate your slide seals very often as well.

And slide seals are the rubber seals that go all the way around your slide room.

The purpose of them is to keep any kind of weather and debris out of your RV.

But especially to prevent water from penetrating in and around the slide room.

And replacing a slide seal when it’s damaged can cost you thousands of dollars. So you really want to pay attention to your slide room seals.

And the number one thing that breaks down rubber slide seals is ultraviolet rays from the sun.

So while your slide is extended it’s a good idea to lubricate and protect the seals.

And the best kind of lubrication you can use in my opinion is a high quality ultraviolet inhibitor. Like 303 Aerospace Protectant.

Preventing RV slide out repairs involves protecting slide seals with a UV inhibitor

I have used this product for years now. And it keeps my slide seals supple and protected from UV damage.

Prevent RV Slide Out Repairs – Tip #3

OK, the third tip for today is also about slide seals. And that is that you need to keep them flipped into place when the slide is extended.

Now this is one of the most common problems I see as an RV inspector.

And that is that that some of the slide seals don’t completely flip out when the slide is extended.

Slide seals not flipped out when the room is extended
Slide seals not flipped out when the slide room is extended

So when you have the seal not flipping out like it should, water can penetrate into your slide room easily.

And when it does, it can start rotting walls, ceilings and floors away quickly. And that’s a very expensive repair.

So you need to keep those slide seals flipped out when the slide is extended.

And keep them nice and tight against the wall of the slide to protect the slide interior.

A Couple Of Suggestions On How To Do This

Now there’s a couple ways you can do this. First of all, you can do it manually.

So you go around after you set up your RV and put your slides out. And you check and make sure that all the slide seals did flip correctly.

But if they didn’t, you could take a ladder and then run your hand up behind the seal and flip it back into place manually like you see here.

Use your hand to manually flip out the slide seals

But there’s a way to do it automatically too. I know because I had a very stubborn slide seal on my kitchen slide.

It just would not flip out and back in no matter what I did. So I found a suggestion from another RVer that works really well for me.

And that is that he used these little small half inch plastic furniture bumper stops that you can find for sale almost anywhere.

But you can find them pretty cheap on Amazon at this link.

Then he placed them about halfway down the sidewall of the slide about 18 inches apart from top to bottom.

Keep slide seals flipped properly automatically with these small furniture stops

Now when you do that, you just stick them right on the slide side wall after prepping it with alcohol.

Then as the slide goes out, it flips the seal right out. And likewise as the slide goes in it flips it back in automatically.

The good news is that these furniture stops have been on my slide sidewall for years now. And they work great!

Prevent RV Slide Out Repairs With Tip #4

Now tip number four is to get to know your RV slide out rooms very well.

And what I mean by that is you should listen to them carefully as they operate in and out. Get to know the sounds they make in normal use.

Now all slide out rooms make sounds of various kinds. And very often there’s little squeaks and maybe a slight moan or two.

But what you don’t want to hear are loud sounds. Like pops or grinding noises.

In fact, usually loud sounds of any type that means something is not right.

So when you start hearing that, you need to give that attention right away.

Slide Repairs That I Made on My RV

In fact, let me tell you about another one of my slides that I had this kind of issue with. And that’s my living room slide.

Now it’s operated fine for years going in and out without any trouble. But I always listen very carefully to all my slides for anything out of the ordinary.

And this one started making some funny noises that it hadn’t made before.

So I went online and did some research on the noise I was hearing. And I learned about an issue that these electric rack and pinion systems can have.

And that’s where the slide motor housing loosens up over time. The bolts that hold it together just loosen up through use and vibration.

One of my RV slide out repairs included tightening my slide motor housing bolts

And therefore that causes problems with the slide that you can begin to hear. Before it gets really serious and needs repair.

So I went out there to check the motor housing bolts. And sure enough, they needed tightening.

So I tightened them all back down and now my slide moves in and out just like it should. And it doesn’t make that unusual sound anymore.

So know your slides and the sounds it makes that can be considered normal. And take action when you hear sounds that aren’t normal.

For me, I would have never prevented slide damage if I hadn’t been listening to my slide very carefully.

Then if you find anything that’s out of the ordinary, do research on it and get it fixed.

You can do it yourself or get an RV service tech in and get it fixed before it becomes a major issue.

Conclusion

Now here’s my fifth and final tip. Maintaining your RV slide outs is going to take dedication and effort on your part.

So you need to schedule regular maintenance to protect your RV slide out rooms.

But it will pay you back many times over in fewer costly repairs and less stress and frustration.

And these tips that I’ve given you will help you keep your slides in great shape and operating smoothly for many years to come.

Have safe and happy travels my friends!

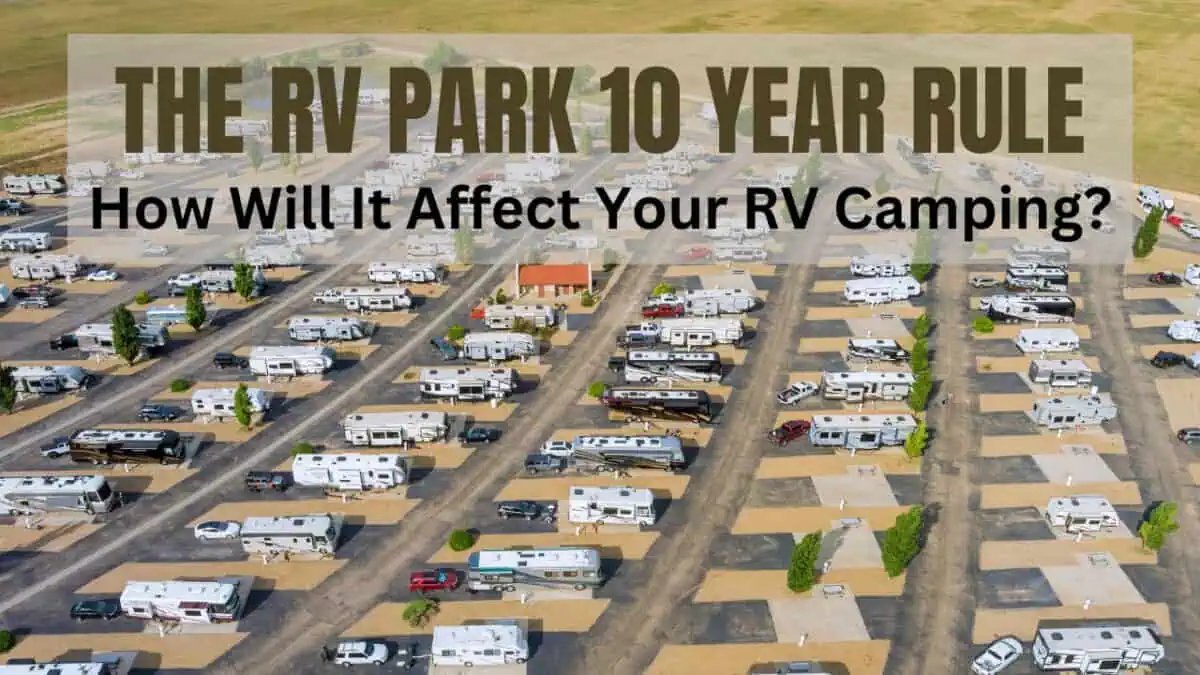
The RV 10 Year Rule – What Is It All About?

This article is about the RV 10 year rule that many RV parks have for older RVs. And what it means for RV camping going forward.

Now I’m asked about this an awful lot these days. And there’s a lot of discussion about it on the internet.

Watch my video on the RV 10 year rule

What Is The RV 10 Year Rule Anyway?

So what is the RV 10 year rule anyway? Well, basically it says that an RV park has the right to refuse you entry to their campground if your RV is 10 years old or older.

So suppose that the year is now 2025. Then the 10 year rule means that any RV that’s 2015 or older would just be turned away.

Why Would A Campground Have A Rule Like That?

So why would an RV park make a rule like that? Well, the main reason for the rule is most often to be able to allow the RV park to keep out older and poorly maintained RVs.

Ones that are ugly, junky and trashy. Or ones that have been maintained so poorly that it’s clear that they could break down right in the park.

In which case they could even be abandoned there in the RV park altogether.

An old junky and trashy RV that hasn't been maintained well
An old junky and trashy RV that hasn’t been maintained well

Also what happens if you get enough of these trashy type of RVs in a park?

Then before you know it, the RV park has a reputation for being a low quality park.

And that’s just the opposite of what RV park owners really want. Instead, they want good things being said about their park

They don’t want a reputation for having a whole collection of low quality RVs.

So 10 years is used as a number where they feel that these kind of problems can start to happen. Or start to show up.

In other words, for the first 10 years of an RV’s life it’s generally felt that they’re going to have a decent appearance.

But getting beyond that age things can start to get dicey. Now admittedly, that’s not a perfect rule.

What About Older RVs That Have Been Well Cared For?

And we all know that there are some older rigs that look fantastic. In fact there are many 30 – 40 year old RVs that are in great shape.

And that’s because their owners have cared for them very well. They look after them and they’re always maintaining them.

An older well cared for RV that is in good shape

But on the other hand, I have also seen just the opposite too. In fact, I have seen five year old RVs that have been essentially trashed.

They look just awful and are in poor shape. Because the owners just didn’t care about them at all and haven’t done anything to care for them.

So clearly, the rule is not perfect. But it is generally sort of understandable and reasonable from the RV park owner’s point of view.

How Many Campgrounds Have The RV 10 Year Rule?

So how many parks have this rule? The truth is that it’s not all RV parks. But it is a significant number, and it is growing at this point.

But that’s not the real question. The real question we want to answer is, how strictly is that rule being enforced by the parks that have it?

In other words, if your RV is 10 years old or older, how hard is it going to be for you to find camping accommodations in the future?

Well here’s the answer to that. Most RV parks only use it in very extreme cases.

Do RV Parks That Have The Rule Always Enforce It?

Yes, they have the rule. It’s on their books and so on. But they rarely actually pull it out and use it.

Also it seems like it’s most often actually enforced in areas like Arizona and Florida in the winter time.

Because these are high traffic areas for RVers. Places where they’ve got a whole lot of people with RVs anyway.

So RV park owners can be a little bit more picky about things. And park appearance is very critical in these areas too.

Because if somebody doesn’t like staying in one RV park, that’s no problem.

They can usually just go down the road and find another RV park and stay there instead.

A park where there aren’t any junky RVs all around them. And so that is where you see this kind of rule often in force.

Why Do Some Higher End RV Parks Enforce The RV 10 Year Rule?

However there are some high-end RV parks that strictly enforce this rule pretty much all the time now.

And why is that? Mainly because they cater to a higher end crowd. They want RVers that are ready to spend a lot of money.

And they usually have a lot of amenities for them to enjoy. So they want people who spend money to stay there.

And as a result, they want to keep out any RVs that could offend that higher end crowd.

So what should you do if you find a situation where you are asked about your RV’s age. Especially you have an RV that’s older than 10 years?

What If you Are Asked The Age Of Your Older RV?

Well, to handle this situation properly, you need to have been doing something long before you’re asked about it.

And what you should have been doing is to make sure that you keep your RV looking good. You know, maintain your RV well.

And especially the outside appearance. Make sure that it looks good to folks that are going to be viewing it. Keeping that appearance up also matters for your RV resale value.

How To Keep Your RV Looking Good No Matter Its Age

Now I’ve made some videos on how to do that. And it’s not difficult at all to keep your RV looking great for its entire life.

Of course, a lot of people think that it’s too much work they will have to do.

Or that they’re going to have to pay a lot of money to have detailers constantly keeping it up for them.

But no. It’s actually very simple and inexpensive to maintain the exterior of an RV yourself.

In fact, there’s a system I use that’s easy, quick and very effective. And it’s worked for us through all of our years of full-time travels.

In fact, I’ve made a video that explains how that can be done. And you can watch that video by clicking on this link.

Watch my video on how to keep your RV looking good

I invite you to check that RV wash and wax system out right away. It’s very inexpensive and it only takes me about an hour to do.

The Most Important Thing To Do To Prepare For The Rule

So now, suppose you get your RV in good condition and it’s really looking good.

Then now is the time take a good digital photo of that RV. And keep it on hand.

Have it ready so that you can send it to any RV park that requests a photo to be able to see what your RV looks like.

In fact, here is a photo of our rig. And this is what we like to send to RV parks who ask us about it.

Be ready for the RV 10 year rule with a photo like this

Now if you’re an RV park owner, would you have any objection to that RV being in your park? I know that I wouldn’t!

So it’s important to have the photo ready. Have it on hand so that you can send it whenever it’s needed.

Now the reality is this. We have been all over this country for five years now.

And we’ve only been asked for a photo twice in all of that time. And that includes all of our travels across the U.S.

In fact, it also includes Arizona and Florida as well. And both times when we sent them the photo they said “that’s just fine, no problem. We approve your reservation”. Our Monte Vista RV Resort review describes the photo requirement at the time of our visit, when our own RV was over ten years old.

Conclusion

So I can say this with confidence. If you don’t stay at exclusively high-end campgrounds all the time, it’s really not going to be much of a problem.

It’s unlikely that you’re going to have any problems with the RV 10 year rule.

Of course, is the RV 10 year rule something you need to be aware of?

Oh yes, it certainly is. There’s no doubt about that. But it’s not something that you need to be overly worried and concerned about.

Not as long as you maintain your RV and you keep it looking good. Which is really what you should be doing anyway.

Well that’s it for now. Have safe and happy RV travels, no matter how old your RV is.