
Diamond Shield, or any clear front end protection film, can be a blessing or a curse for motorhome owners.
And when you visit RV forums on the internet, you will see both extremes.
Some love their Diamond Shield installation. On the other hand, some don’t seem satisfied at all. So why the extreme opposite opinions?
Disclosure: Please note this post may contain affiliate links. This means – at no additional cost to you – I earn a commission if you make a purchase using our affiliate links. I only link to products and companies I use and feel comfortable recommending. The income goes toward supporting the free content on this website.
Diamond Shield – What Does It Do?
The purpose of a clear front end bra for an RV is mainly to help protect against paint rock chip damage.
But it can also be helpful with bug splatter and road grime.
Of course, there are other ways of providing RV front end protection. Like a vinyl RV bra or a plastic RV shield.
But the big advantages of clear protection film is its invisibility and ease of use.

In fact, the average person would usually not even know that Diamond Shield is applied to a motorhome.
You have to get up close to even see the outline of the shield. And there is nothing to remove and clean like other forms of RV front end protection.
Because the front end is clear it also doesn’t interfere with the paint scheme of the RV either.
So why do so many RVers have such a negative viewpoint of Diamond Shield? Especially when it has so many clear advantages?
Front End RV Protection Film Problems
The real problem with clear front end protection film is that it is easily affected by the Sun’s UV rays.
Ultraviolet rays over time can bake the film, causing it to crack, yellow, and fade. In this way, it’s not unlike the paint that it is designed to protect.
Worse yet, when the shield begins to deteriorate, moisture can begin to penetrate underneath. When it does, mold can easily begin to grow.
And once that happens, there is practically no way to stop the mold from spreading.

So the once beautiful Diamond Shield installation can become cracked and filled with mold. When it does, the RV’s front end looks horrible.
And this is why so many Diamond Shield owners are dissatisfied, to say the least.
So is there any way to prevent the deterioration of Diamond Shield? Yes, there is.
The real problem is that in most of these cases, the Diamond Shield RV owners have not maintained the shield.
And yes, some maintenance is required to make sure that Diamond Shield lasts a long time. It is not a product that can be installed and forgotten about.
But clear front end protection film does not require a lot of maintenance. In fact, it shouldn’t take more than about 5 – 10 minutes to do.
And it involves very little effort. Almost anyone can do it too, with products that are inexpensive and readily available.
Diamond Shield Protective Polish To The Rescue
Remember that the enemy of an RV rock shield is the Sun’s ultraviolet rays.
So the Diamond Shield protective polish that the main office often recommends most to maintain the shield is 303 Aerospace Protectant.
This product is a high-quality UV inhibitor, and is highly reviewed and recommended.
Just spray it on the shield and wipe the excess off with a high-quality microfiber towel. It is just that easy.

Click here to find out more about 303 Aerospace Protectant
Some RV owners take their shield maintenance a step further though. And they also use a polymer sealant on the shield before applying 303 Aerospace Protectant.
This kind of synthetic wax sets up a moisture barrier that further protects the shield from mold.
In fact, you can apply a couple of layers of the polymer sealant if you wish. Then layer the 303 Aerospace Protectant on top of the sealant.
And that constitutes the ultimate Diamond Shield protective polish that you can apply.
All of this protection can be applied to the RV bug shield easily with microfiber towels in just minutes.
There are plenty of good polymer sealant products for the auto and RV market. Almost any of them would work well.
The one I like to use most often lasts longer than most. But if you have a favorite of your own, I’m sure it will work just fine.
My preference is Meguiar’s Fast Finish. It just wipes on and dries to a very slick finish. Best of all, it really lasts too!

Meguiar’s Ultimate Fast Finish (the product discussed here).
Availability update: Meguiar’s Ultimate Fast Finish is currently unavailable at the Amazon listing previously linked here. The discussion and experience above refer to that original product.
How Often Should You Maintain Your Diamond Shield?
So how often should this protective polish be applied to Diamond Shield? A good rule of thumb is to apply it once a month.
But if your RV spends a lot of time in high humidity areas, you may want to do it more often. Perhaps even every couple of weeks or so.
That way you can be sure that the protection you’re applying is adequate for the area.
This is especially true in lower Texas and Florida, where humidity can be extremely high.
Of course, you don’t have to apply the polymer sealant too. Just 303 Aerospace Protectant alone will do a great job.
But if you have the extra time, adding a synthetic polymer coating to the protection regime can be beneficial too.
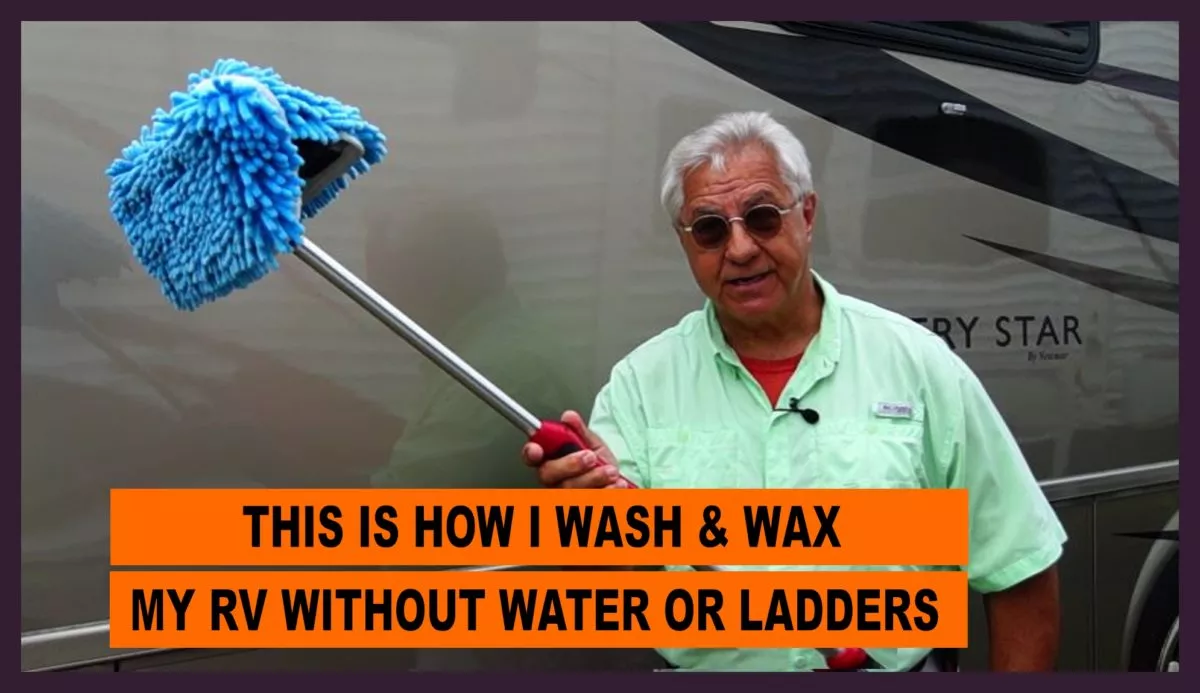
The key to RV shield maintenance with a diamond shield protective polish is having a regular schedule for it. Then follow that schedule consistently. For the rest of the exterior, here is my quick RV wash-and-wax method.
What About Diamond Shield Removal?
Yes, no product lasts forever. And that is true of Diamond Shield as well.
So if your RV front end shield is showing signs of failing, what should you do? Well, let’s talk about how to remove Diamond Shield.
When you first begin to see clear evidence of cracking in the clear protection film, it’s time for Diamond Shield removal.
I can’t stress enough not to wait and delay the removal process. The longer you wait when a shield is failing, the more difficult the removal will be.
That’s because moisture can easily begin to penetrate the outer layer of the RV protective film.
When it does, it’s not hard for mold to start growing and accelerate the shield disintegration. Eventually the shield just breaks into small pieces when you try to remove it.
So don’t procrastinate on Diamond Shield removal when it starts to become necessary. For decorative vinyl rather than clear protective film, see my guide to removing RV stripes and graphics.
What Is Involved In Removing An RV Front End Shield?
Removing a clear front end protection film from an RV is not an easy job.
I have done it many times, and it is usually long and arduous. So I recommend that you make a search for “diamond shield removal near me” on Google.
Or you can just call the Diamond Shield home office too. They will be happy to help arrange for a professional removal of your RV shield.
To know more about Diamond Shield removal cost, just call the home office. The number is 888-806-5862.
A professional installer will also know how to remove Diamond Shield too. So they are the best solution for the job. But you can do the job yourself too.
I often get asked about diamond shield removal solvent too. But the truth is that there is no solvent that I know of that can easily remove a shield.
In most cases, it requires heating up the shield in a small area with something like a heat gun. Just be sure not to get the gun too close and mar the paint.
But if you sufficiently heat the protective film, it can often be pulled off with just a little effort.
You can then remove the glue left behind with mineral spirits or another appropriate glue remover.
Another very effective way to remove a front end protection shield is to use a steam machine. One like you might use for extra heavy duty cleaning jobs.
By steaming the shield, it often makes it even more pliable than a heat gun might accomplish. Then the removal is even easier.

Current steam-cleaner option: McCulloch MC1275
The link now opens the McCulloch MC1275 listing; the original article image and discussion have been retained. Before applying steam to protective film or paint, confirm surface compatibility with the film, paint and steam-cleaner manufacturers, follow their instructions and test an inconspicuous area.
How To Find A Diamond Shield Installer
Once you have the front end shield removed, you can reinstall it again.
To do that, it’s always best to call the Diamond Shield home office at 888-806-5862. You can also contact them online at diamond-shield.com
They can give you the information you need about Diamond Shield installation cost too.
If they have arranged for the removal of your front end shield, the installation can be done right away.
But if you have removed the shield yourself, you will need to make arrangements for a an installer to do the job.
And yes, they are usually able to come right to your location for both removal and installation.
Conclusion
So if you have Diamond Shield, or any other RV protection film, you can keep it looking great. And it isn’t hard to do.
Just make sure that your regular RV inspection also includes inspecting your rock shield too.
Then follow the maintenance guidelines in this article to get good results.
If you do, your Diamond Shield should last a long time and look great while it does!
Have safe and happy travels!