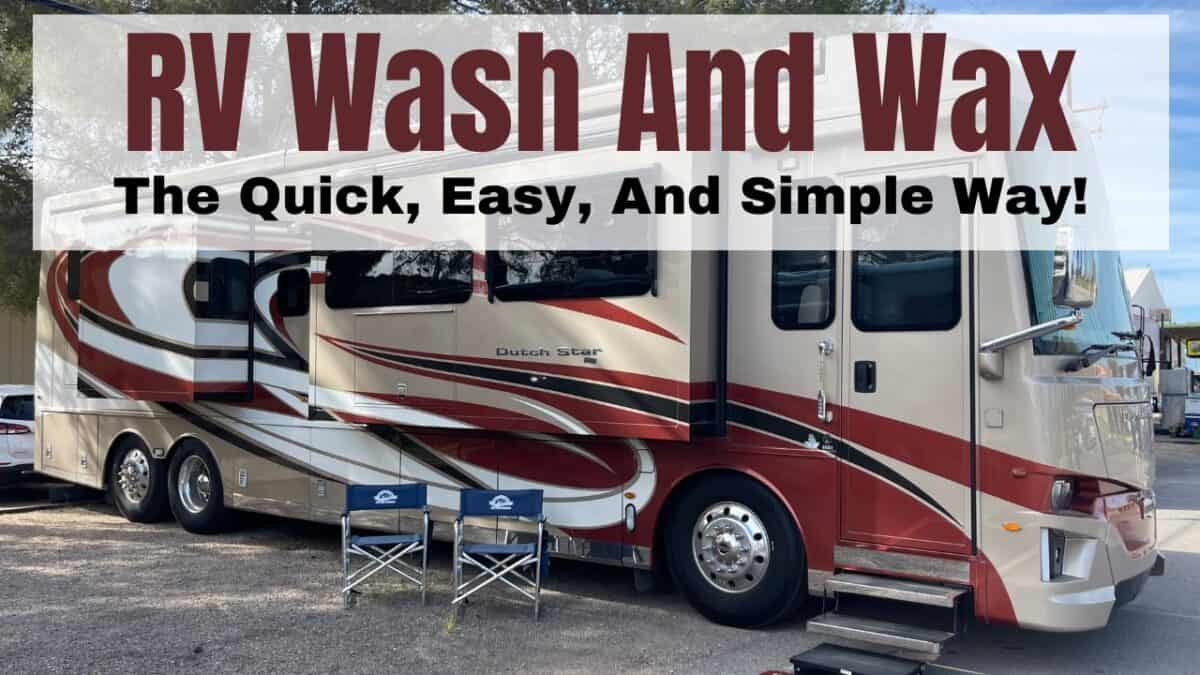
This article explains how to wash and wax an RV in a quick, simple and easy way.
Because keeping an RV clean and protected can feel like an overwhelming job, especially if you own a large fifth wheel or motorhome.
There is a lot of exterior surface to cover, and the traditional wash-and-wax process can require hoses, buckets, ladders, and several hours of hard work.
So it is understandable why many RV owners keep putting the job off.
They want their RV to look good, but they may not have the time, energy, equipment, or campground permission needed to wash and wax it the old-fashioned way.
However, there is a much easier way to protect your RV exterior.
I have used a waterless RV wash and wax with an extension pole system for years, and it allows me to clean and protect my 40-foot motorhome in a little over an hour.
So in this article, I’ll explain how the system works, when you should use it, and how you can keep your RV looking great without turning exterior maintenance into an all-day project.
Quick Answer: What Is the Easiest Way to Wash and Wax an RV?
One of the easiest ways to wash and wax an RV is to use a waterless wash-and-wax product with an extendable pole and reusable mop pads.
You apply the product with one side of the pad and then flip the pad over to dry and buff the surface.
This method eliminates the need for buckets, hoses, extensive rinsing, and repeated trips up and down a ladder.
However, a heavily soiled RV should usually be rinsed or washed first to remove mud, sand, and other abrasive debris.
Why Traditional RV Washing and Waxing Is So Difficult
Take a walk through almost any RV park or campground, and you will probably see RVs that need exterior attention.
Some are dirty, while others look dull, faded, oxidized, or weathered—even if they are not very old.
It is easy to assume the owners do not care about their RVs, but that is usually not the real problem.
Instead, many owners believe that washing and waxing an RV requires too much time and physical effort.
Traditional RV Washing Requires a Lot of Water
The traditional method usually starts with a hose, a large bucket, RV-safe soap, and a long-handled brush.
And after washing each section, you must rinse away all the soap before it dries.
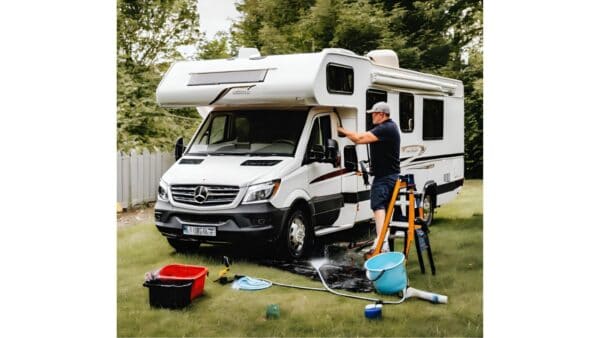
But many RV parks and campgrounds do not allow RV washing at individual campsites.
Water conservation rules, drainage concerns, and restrictions on soap use may prevent you from washing your RV where it is parked.

And even when washing is allowed, moving a hose around a large RV can be frustrating.
The hose can become caught under tires, wrapped around steps, or dragged across surfaces you just cleaned.
Hard Water Can Leave Difficult Water Spots
Once the RV has been rinsed, the job may not be finished yet either.
Because in areas with hard water, minerals can remain on the surface after the water evaporates.
These mineral deposits leave water spots on the paint, fiberglass, glass, and trim.
And if the spots are allowed to harden, they can become surprisingly difficult to remove.
So you may need to dry the entire RV by hand before the water has a chance to evaporate.
On a 35- or 40-foot RV, that is another significant job.
Traditional Waxing Requires Even More Work
But after the RV is clean and dry, you still need to apply the wax.
And traditional RV waxing usually involves applying the product by hand and then returning to buff it off.
That can mean working your way around the RV at least twice.
And it may also require constantly moving and climbing a ladder to reach the upper sidewalls, front cap, and rear cap.
Also, if the surface is faded or oxidized, wax alone may not restore it.
So the exterior might need compounding or polishing before any protective wax or sealant is applied.
At that point, a fairly simple maintenance project has turned into an exhausting, multi-step process.
So it is not surprising that many RV owners keep postponing it.
Professional RV Detailing Can Be Expensive
Of course, you could hire a mobile RV detailing company to handle the work.
However, professional washing and waxing can cost hundreds of dollars, depending on the RV’s size, exterior condition, location, and the services requested.
Compounding, oxidation removal, polishing, roof cleaning, ceramic protection, and other services can raise the price even further.
So professional detailing may be worthwhile in certain situations, but paying for it several times each year can become expensive.

Why Your RV Exterior Needs Regular Protection
Washing an RV is not only about making it look attractive.
Regular cleaning also helps remove substances that can stain, discolor, or slowly damage the exterior.
Those substances may include road grime, insects, bird droppings, tree sap, pollen, dust, salt, and black streaks.
If they remain on the RV for long periods, they can become harder to remove.
And wax or paint sealant also creates a protective layer between the exterior and the elements.
It can help reduce the effects of sunlight, moisture, dirt, and environmental contamination.
However, no wax or sealant makes an RV exterior maintenance-free.
So the goal is to make regular cleaning easier while helping the finish retain its shine and appearance.
How a Waterless RV Wash and Wax Works
For several years, I have used a product called Wash Wax ALL from Aero Cosmetics.
It is designed to clean the exterior and leave behind a protective finish during the same process.
So instead of washing the RV, rinsing it, drying it, and then returning to apply wax, you combine several steps into one.
And that is where most of the time and labor savings come from.
You spray a small amount of the wash-and-wax solution onto the RV or application pad.
And then you spread it across the surface, flip the mop pad over, and dry or buff the area.
Just click on the image below to learn more about it.
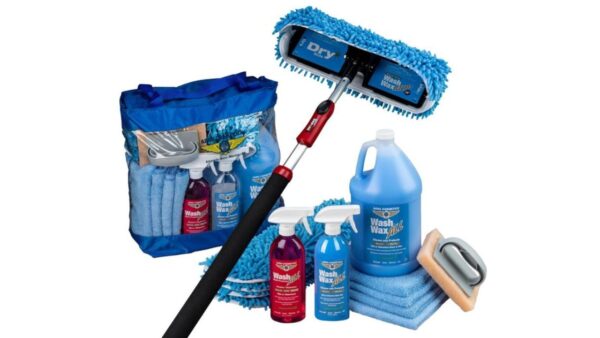
There are no buckets, and under normal light-cleaning conditions, there is no rinsing.
So campground water restrictions are much less likely to be an issue, although you should still follow any campground rules regarding vehicle cleaning.
The Equipment You Will Need
The system does not require much equipment, which makes it easy to carry in an RV storage compartment.
Waterless RV Wash-and-Wax Product
The cleaning product is the heart of the system. I use Wash Wax ALL, but whichever product you choose should be approved for the specific surfaces on your RV.
Of course, read the manufacturer’s instructions before applying any cleaner, wax, or sealant.
Because RV exteriors can include full-body paint, clear coat, gelcoat, vinyl graphics, decals, plastic trim, glass, and other materials that may have different care requirements.
Extendable Cleaning Pole
The extension pole is what makes this system especially useful for large RVs.
A good pole allows you to reach most of the upper sidewalls from the ground.
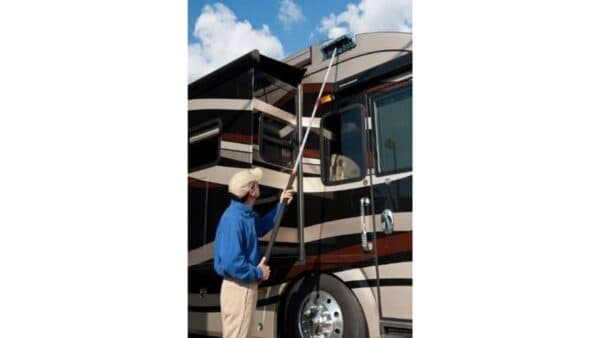
The pole I use can be extended and retracted by pressing a button.
It allows me to clean the upper sections of my 40-foot motorhome without repeatedly moving a ladder around the coach.
And while avoiding unnecessary ladder use is more convenient, it can also reduce the risk of a fall.
Even so, always remain aware of overhead obstacles and never allow a cleaning pole to come near electrical lines.
Dual-Sided Mop Pads
The pole system uses mop-style pads designed for applying and removing the product.
One side distributes the wash and wax, while the clean, dry side buffs the surface.
And you may need several clean pads, especially if the RV is dusty or fairly large.
Changing dirty pads helps prevent collected grit from being moved across the finish.
Clean Microfiber Towels
Microfiber towels are helpful for smaller areas, mirrors, windows, trim, and any spots that need extra attention.
And they are also useful for removing streaks or excess product.
However, make sure the towels are clean and free of debris. A towel that has picked up sand or grit can scratch a glossy surface.
How to Wash and Wax an RV Without a Hose
The actual process is surprisingly simple, but working carefully will help you get the best results.
Step 1: Inspect the Exterior
Before you begin, walk around the RV and examine its condition.
Look for mud, sand, heavy road film, bird droppings, tree sap, loose sealant, damaged decals, and areas of oxidation.
A waterless wash is best suited for an RV with light or moderate dust and grime.
If gritty contamination is stuck to the surface, rinse or wash it away before wiping the RV.
Step 2: Work in a Suitable Location
Whenever possible, work in the shade or during a cooler part of the day.
A hot exterior can cause the product to dry too quickly and may leave streaks.
Also, avoid working in strong winds. Blowing sand and dust can settle on the surface or become trapped in your cleaning pad.
Step 3: Clean One Small Section at a Time
Do not spray the entire side of the RV at once. Instead, work in small, manageable sections so the product does not dry before you can buff it.
Start near the top and work downward. That way, any loosened dirt or product that moves down the sidewall will reach an area you have not cleaned yet.
Step 4: Apply the Wash-and-Wax Product
Apply the product according to its instructions and spread it gently with the mop pad.
You should not need heavy pressure for ordinary dust, fingerprints, or light road grime.
Of course, for stubborn insect residue or bird droppings, allow the product to soften the contamination first.
Because aggressive scrubbing could damage the finish or decals.
Step 5: Flip the Pad and Dry the Surface
Once the section has been cleaned, flip the mop head to the clean side and dry or buff the surface.
This removes loosened grime and leaves behind the protective finish.
Then move to the next section and repeat the process.
Applying the product and drying it are the two basic motions used around most of the RV.
Step 6: Change Pads When They Become Dirty
Inspect the mop pad frequently. If it has collected visible dirt, grit, or insect residue, replace it with a clean one.
Do not continue wiping the RV with a heavily soiled pad just to save time.
Because clean pads are an important part of preventing scratches and swirl marks.
Step 7: Inspect the Finish
When you finish a section, look at it from different angles. Reflected light will make streaks, missed areas, and remaining grime easier to see.
Then use a clean microfiber towel to touch up mirrors, windows, corners, and other areas that the pole system may not reach easily.
What to Do When an RV Is Extremely Dirty
A waterless RV wash is not intended to grind heavy mud, sand, or thick layers of road grime across the exterior.
So if the RV is extremely dirty, it needs an initial rinse or traditional wash.
You can take the RV to a location that permits washing or use a suitable vehicle-washing facility with enough clearance for your RV.
Always verify height and size limitations before entering any wash bay.
After rinsing, allow the RV to dry and then apply the waterless wash-and-wax product.
The initial rinse removes abrasive contamination, while the wash and wax adds shine and protection.
However, the easiest strategy is to clean the RV frequently enough that it never becomes extremely dirty.
And maintenance cleaning is much faster than trying to restore a neglected exterior.
Can Waterless Washing Damage RV Paint?
When I first began discussing this system, some RV owners—especially owners of Class A motorhomes—insisted that waterless washing would ruin the paint.
Well, after years of using it on my own motorhome, that has not been my experience.
In fact, my motorhome’s paint has remained in excellent condition.
Regular cleaning has prevented dirt and environmental contamination from accumulating, while the protective finish has helped preserve its appearance.
But technique matters. You should not wipe gritty dirt across any painted or glossy surface, regardless of what cleaning product you use.
The RV manufacturer’s care instructions also take priority.
If you are unsure whether a product is safe for full-body paint, gelcoat, clear coat, decals, or protective coatings, test it in a small, inconspicuous area first.
Adding Ceramic Paint Protection
A wash-and-wax product makes routine maintenance easier, but you may want to add a longer-lasting paint sealant for additional protection.
In the past, I used and recommended Meguiar’s Fast Finish. It was easy to apply and produced a very good shine.
Just click on the image below to learn more about it.
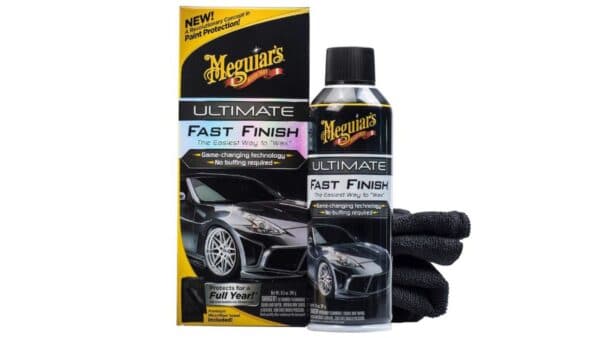
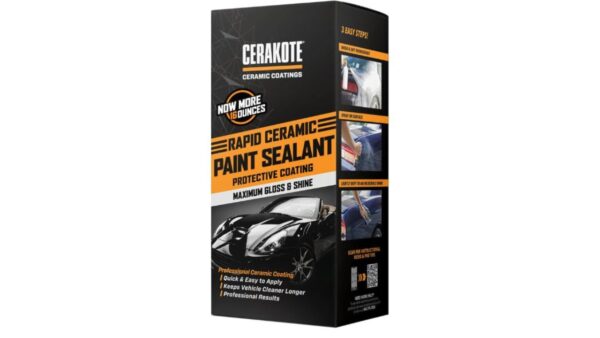
However, detailing products continue to improve, and I now use a Cerakote ceramic paint sealant.
In my experience, it is easy to apply, produces an excellent shine, and lasts longer than many traditional spray protectants I have used.
Just click on the image below to learn more about it.
Wash-and-Wax Products and Sealants Have Different Jobs
A waterless wash-and-wax product is ideal for frequent maintenance. It removes light dirt while renewing a basic layer of protection.
A ceramic sealant is generally used less often and is intended to provide more durable protection.
So the wash and wax maintains the RV between sealant applications.
Of course, before using a ceramic product, make sure you have selected one intended for your RV’s exterior surface.
Then follow the product directions regarding preparation, application temperature, curing time, and compatibility with existing coatings.
Sealants Cannot Repair Oxidation
It is important to understand that paint sealants and waxes protect the surface underneath them.
They do not repair severely oxidized paint or gelcoat.
So if your RV is already faded, chalky, or heavily oxidized, it may need professional compounding and polishing first.
Then once the finish has been restored, regular washing and protection can help keep it from deteriorating as quickly.
Tips for Better Results
Consistency is more important than waiting until the RV looks terrible.
A quick cleaning every few weeks or after a long travel day is far easier than restoring a neglected exterior.
Keep these additional tips in mind:
- Read the RV manufacturer’s exterior-care instructions.
- Test unfamiliar products in a small, hidden area.
- Avoid cleaning a hot RV in direct sunlight.
- Use clean mop pads and microfiber towels.
- Rinse away sand, mud, and heavy grit before wiping.
- Clean bird droppings and insect residue promptly.
- Do not aggressively scrub vinyl graphics or decals.
- Keep the extension pole away from overhead power lines.
- Follow campground and RV park cleaning rules.
- Apply ceramic sealants only to compatible surfaces.
- Avoid applying wax or sealant over damaged or failing clear coat.
- Do not forget the front and rear caps, where fading often appears first.
And finally, inspect roof seams, windows, compartment doors, and sealant while working around the RV.
Cleaning provides a perfect opportunity to spot developing exterior problems before they become expensive repairs.
Frequently Asked Questions About Washing and Waxing an RV
How often should I wash and wax my RV?
The right schedule depends on how often the RV is used, where it is stored, and the climate.
An RV exposed to intense sun, salt air, trees, insects, or frequent travel may need cleaning more often.
So a maintenance wash can be performed whenever the RV begins to collect light dirt.
More durable waxes and sealants should be reapplied according to their instructions and based on how well water beads and the surface retains its gloss.
Can I use a waterless wash on a very dirty RV?
Not without removing heavy mud, sand, and grit first. Wiping abrasive debris across the surface could create scratches.
Rinse or traditionally wash a heavily soiled RV, allow it to dry, and then use the waterless wash and wax for final cleaning and protection.
Can I use ordinary dish soap to wash my RV?
Dish soap is generally not the best choice for routine RV washing. It may remove or weaken existing wax and protective products.
Instead, use a cleaner designed for automotive or RV exteriors and verify that it is compatible with your RV’s paint, gelcoat, clear coat, graphics, and decals.
Will a waterless wash remove black streaks?
It may remove light, fresh streaks, but older black streaks could require a dedicated RV-safe cleaner.
Test any stronger cleaner first because some products can affect wax, decals, or the surrounding finish.
It is also wise to clean the RV roof periodically because dirt running off the roof often contributes to black streaks on the sidewalls.
Do I still need to wax the RV if the product includes wax?
A wash-and-wax product can provide convenient maintenance protection.
However, many RV owners also apply a longer-lasting wax, polymer sealant, or ceramic sealant periodically.
The combination allows the sealant to provide longer-term protection while the wash and wax handles regular cleaning.
Can I use the same product on RV windows?
Some waterless wash products can be used on glass, but you should follow the specific product instructions.
But you may prefer a dedicated glass cleaner if the product leaves haze or streaks.
Be particularly careful with acrylic or polycarbonate windows because they can require special cleaners.
Is a ceramic sealant the same as a professional ceramic coating?
No. Consumer spray ceramic sealants are generally easier to apply but usually do not provide the same durability as a professionally prepared and installed ceramic coating.
However, a spray ceramic sealant can still be a practical option for RV owners who want better protection without the cost and preparation involved in a professional coating.
Can this method remove heavy oxidation?
No. Heavy oxidation normally requires surface correction using specialized compounds, polishes, tools, and techniques.
And because it is possible to damage paint, gelcoat, decals, or clear coat during aggressive correction, badly oxidized RVs may be best handled by an experienced RV detailer.
How long does it take to wash and wax a large RV this way?
Once you are familiar with the process, a lightly soiled RV can be cleaned surprisingly quickly.
In fact, I can usually complete my 40-foot motorhome in a little over an hour.
Of course, the exact time depends on the RV’s size, condition, exterior design, and the number of areas that require extra attention.
Conclusion
Washing and waxing an RV does not have to involve an entire day of hauling buckets, untangling hoses, climbing ladders, and buffing wax by hand.
With a waterless RV wash and wax, an extension pole, and clean mop pads, routine exterior care can become a much more manageable job.
But remember that a waterless system works best for regular maintenance.
If the RV is covered in mud, sand, or heavy road grime, remove that abrasive material before wiping the surface.
I have used this basic system on my motorhome for years, and the finish has remained in excellent condition.
So if the difficulty of traditional washing and waxing has caused you to postpone RV exterior maintenance, this approach may be worth considering.
The easier the process becomes, the more likely you are to do it regularly.
And regular cleaning and protection can help your RV look better, remain easier to maintain, and retain its appearance for years to come.
That’s it for now. Have safe and happy travels, my friends.